Speaker Cleaner Sound for Laptop: Fix Muffled Audio Without Opening the Case
If your laptop’s Zoom calls sound like you’re talking through a pillow, or your favorite playlist has lost its edge, there’s a good chance the problem isn’t your speakers failing — it’s dust. Laptop speaker grilles sit exposed on the chassis, often right next to the keyboard, vents, and hinge, which makes them a magnet for lint, crumbs, and everyday dust buildup.
A speaker cleaner sound for laptop is a tool designed to fix exactly this, using calibrated audio frequencies to vibrate the speaker and shake loose whatever’s blocking it — no screwdriver, no compressed air, no risk of losing a screw inside your keyboard. This guide covers how it works, how to use it properly, and how to tell when the issue is actually a driver or software setting instead of dust.

Why Laptop Speakers Get Muffled Over Time
Unlike phones, laptops sit out in the open on desks, tables, and laps for hours at a time, which exposes their speaker grilles to a steady accumulation of:
- Everyday dust settling into the grille from the surrounding air
- Crumbs and food particles, especially common with laptops used near desks or kitchen counters
- Lint and fabric fibers from bags, sleeves, and lap use
- Humidity or light moisture, particularly if the laptop is used in a bathroom, kitchen, or near drinks
Because this buildup happens gradually, most people don’t notice the decline until audio sounds noticeably muffled, distorted, or thin, especially in the low end. At that point, the fine mesh over the diaphragm is likely clogged enough to physically dampen the speaker’s vibration.
How a Speaker Cleaner Sound Works on a Laptop
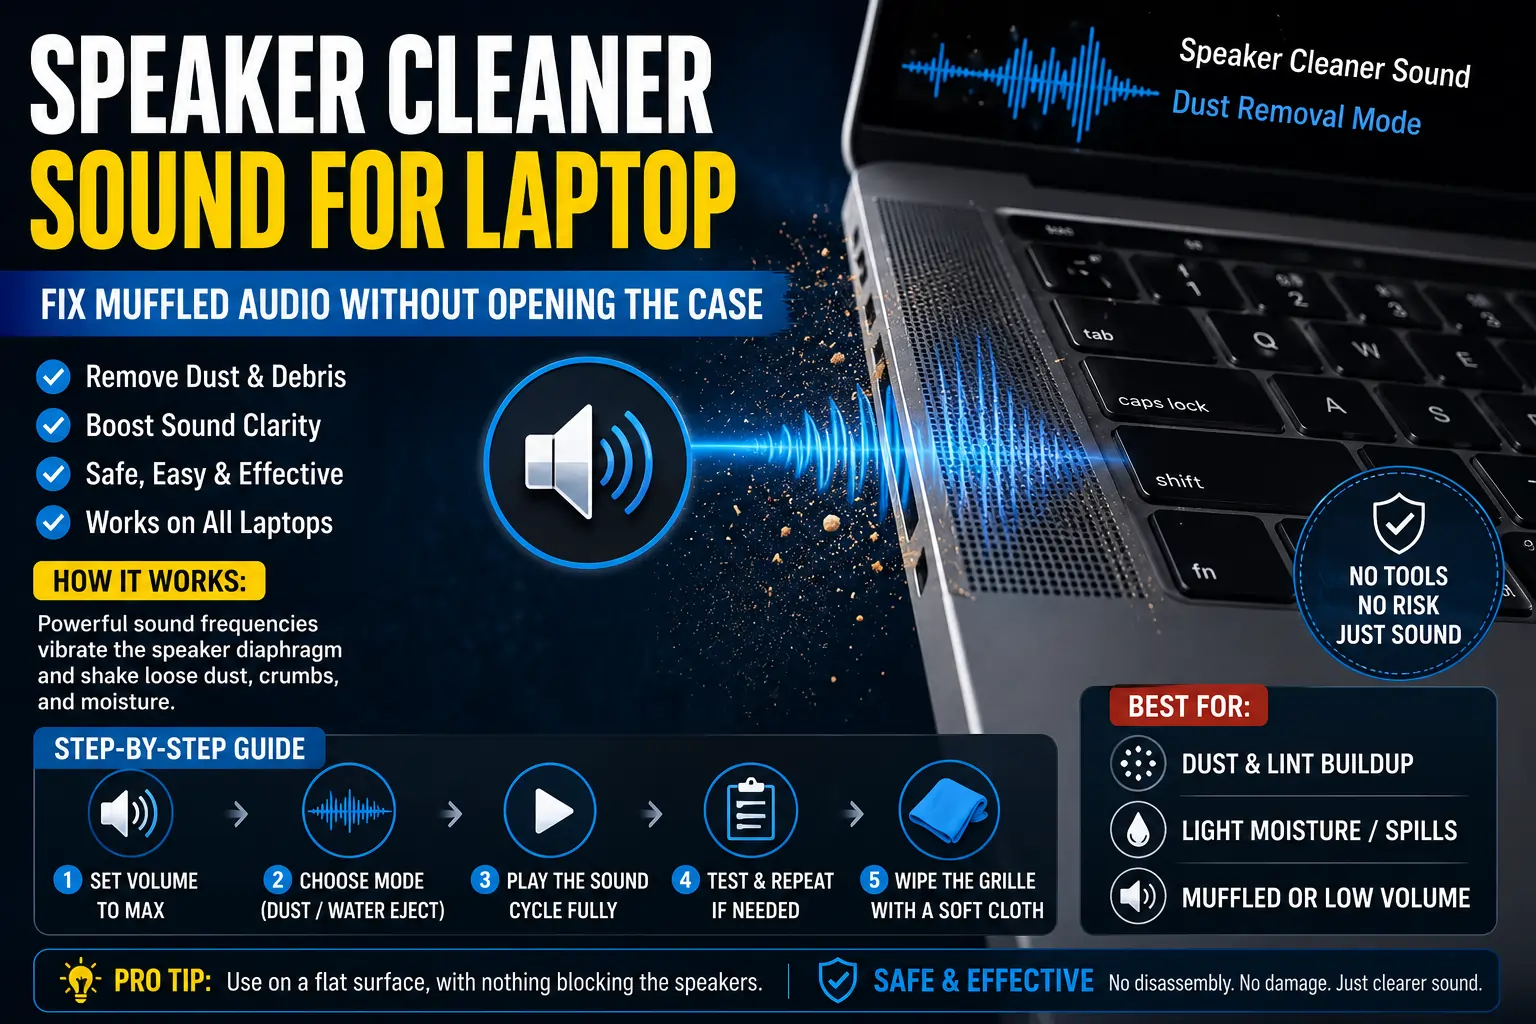
A laptop speaker produces sound by rapidly vibrating a thin membrane, or diaphragm. A speaker cleaner sound is engineered specifically to make that membrane vibrate harder and more forcefully than normal playback would, using a frequency range chosen for maximum physical movement rather than pleasant listening.
Two distinct modes are commonly used:
- Dust removal mode typically uses a wider sweep of frequencies, often stepping from a few hundred hertz up into the kilohertz range, since finer dust particles respond better to faster vibration.
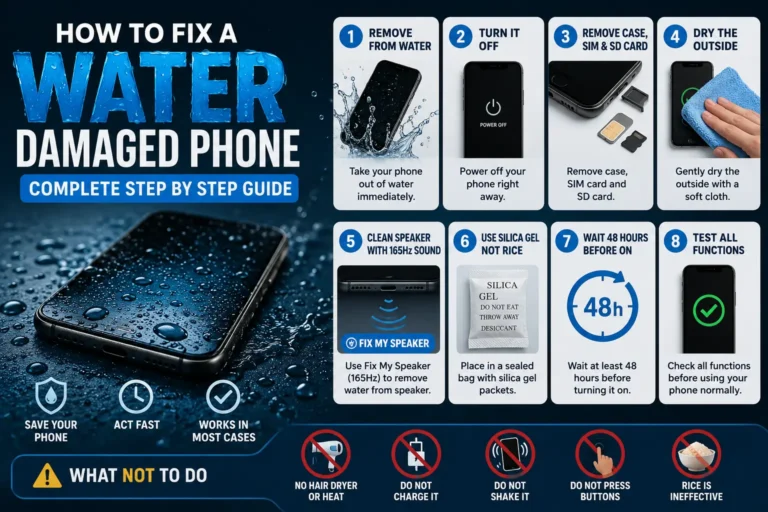
- Water eject mode uses lower frequencies, often centered somewhere around 165 Hz, which generates the largest membrane displacement needed to push out droplets clinging to the mesh via surface tension.
Running through both modes in sequence tends to produce better results than relying on a single tone, since dust and moisture respond differently to each frequency range.
How to Use a Speaker Cleaner Sound on Your Laptop
Step 1: Rule Out Settings and Drivers First
Before assuming dust is the problem, plug in headphones and play the same audio. If it sounds clear through headphones but muffled through the built-in speakers, the issue is very likely hardware-related rather than software. If headphones sound muffled too, check your sound enhancement settings and audio drivers first, since those can cause similar symptoms.
Step 2: Place the Laptop on a Flat, Hard Surface
A flat, solid surface lets sound and vibration travel properly. Using a laptop on a soft surface like a bed or couch can itself muffle speaker sound by blocking the grille, so rule this out before cleaning.
Step 3: Open a Speaker Cleaner Tool
Most speaker cleaner tools for laptops run directly in a browser, requiring no download. Open the tool on the laptop you want to clean.
Step 4: Set Your Volume to Maximum
Since the cleaning process relies on vibration strength, set your system volume to 100% before starting. The vibration only works effectively at higher volume levels.
Step 5: Select the Right Mode
Choose Dust Removal for everyday muffling that’s built up gradually, or Water Eject if the laptop was recently exposed to a spill, humidity, or splash.
Step 6: Let the Cycle Run Fully
Most cycles run somewhere between 30 seconds and a few minutes. Let it complete without stopping early, since interrupting the cycle partway through reduces its effectiveness.
Step 7: Test and Repeat if Needed
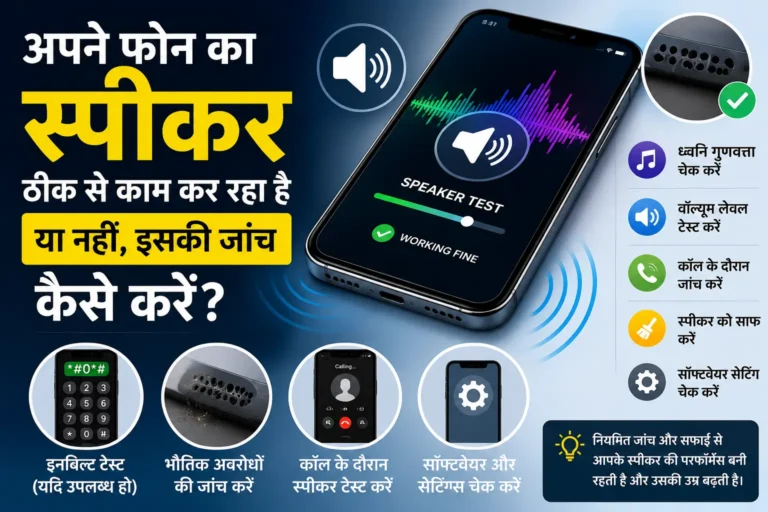
Once finished, play a familiar song or a bass-heavy track, since muffling is usually most noticeable in lower frequencies. If it’s still not fully clear, run the cycle again — two or three passes is common for heavier dust buildup.
Step 8: Wipe the Grille
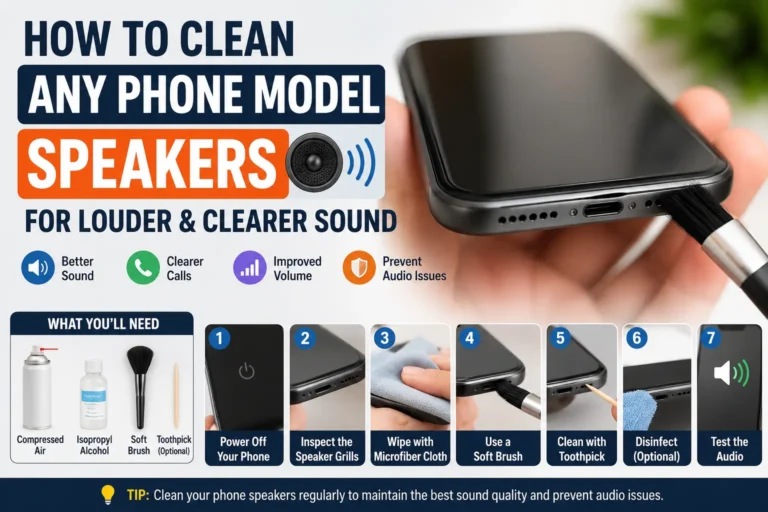
Finish by gently wiping the speaker grille with a soft, dry microfiber cloth to clear away any dust that’s been pushed to the surface.
Watch: Speaker Cleaner Sound for Laptop in Action
If you’d like to hear and follow along with an actual laptop speaker cleaning cycle, this video walks through the process:

Speaker Cleaner Sound vs. Manual Laptop Cleaning
| Method | Best For | Risk Level |
|---|---|---|
| Speaker cleaner sound | Dust buildup and light moisture, no disassembly | Very low |
| Soft brush | Visible dust and lint on the grille surface | Low |
| Compressed air | Loosening dust without direct contact | Moderate if misused |
| Opening the chassis | Heavy internal buildup or physical repair | High — best left to professionals |
In most everyday cases, the speaker cleaner sound combined with a quick brush of the visible grille handles the problem completely, without ever needing to open the laptop.
Is It Ever a Driver or Software Issue Instead?
Not every muffled laptop speaker is caused by dust. Before running a cleaning cycle, it’s worth ruling out a few common software culprits:
- Audio enhancements. On Windows, go to your sound settings, open your speaker’s properties, and check the Enhancements tab for an option to disable all enhancements — these can sometimes distort or muffle audio unintentionally.
- Outdated audio drivers. On Windows, updating your driver through Device Manager, or on Mac, running a general software update, resolves many sudden audio quality drops.
- Wrong default output device. Confirm your laptop’s built-in speakers are actually selected as the default playback device, not a disconnected Bluetooth speaker or virtual audio output.
If sound is muffled gradually over weeks, dust is the more likely cause. If it dropped suddenly after an update or a specific event, a software or driver issue is more likely.
Does This Work on All Laptop Brands?
Yes — since the method relies purely on vibrating the laptop’s own built-in speaker using sound, it works the same way regardless of manufacturer. It’s commonly used successfully on HP, Dell, Lenovo, ASUS, Acer, and MacBook models alike, since none of these require special hardware access for the process to work.
What to Avoid When Cleaning Laptop Speakers
- Don’t insert anything into the speaker grille, including cotton swabs, toothpicks, or pins — these risk tearing the diaphragm.
- Don’t apply liquid cleaners directly to the speaker mesh.
- Don’t use a high-pressure air compressor, which can push dust further inside or damage internal components.
- Don’t run cleaning cycles at extremely high volume for extended, uninterrupted periods — a few short cycles with brief pauses is more effective and gentler on the speaker than one long continuous blast.
- Don’t assume every issue is dust-related — persistent crackling across every app, every volume, even after cleaning, often points to a genuine hardware fault.
When to Get Professional Help Instead
A speaker cleaner sound handles the vast majority of muffled, dusty laptop speaker issues, but it’s time to consider professional repair if:
- There’s no sound at all, even through headphones and after driver updates
- Crackling or distortion persists across every source and volume level after several cleaning cycles
- Your laptop model requires deep disassembly to access the speakers internally (common in slim ultrabooks), and the issue seems to be inside the chassis rather than the exposed grille
- The laptop suffered a significant spill rather than light humidity or a small splash
Frequently Asked Questions
Is a speaker cleaner sound safe for laptop speakers?
Yes, when used as intended. It’s simply audio playing through the speaker at a specific frequency range, similar in mechanical terms to playing music — reputable tools keep the volume and duration within normal safe limits.
How often should I clean my laptop speakers?
For everyday use, running a cleaning cycle once every one to two months is generally enough to prevent noticeable dust buildup. If you use your laptop in dusty environments or for daily video calls, cleaning slightly more often can help maintain clarity.
Why does my laptop sound fine with headphones but muffled through the speakers?
This is one of the clearest signs the issue is the speaker hardware — most likely dust or debris in the grille — rather than a software or driver problem, since headphones bypass the built-in speaker entirely.
Can a speaker cleaner sound fix distorted or crackling laptop audio?
Often, yes, if the crackling is caused by debris vibrating against the diaphragm. If distortion persists after a few cleaning cycles across every volume level and app, it may point to a more serious hardware issue instead.
Does this work the same way on a MacBook as on a Windows laptop?
Yes. The method relies on the laptop’s built-in speaker vibrating in response to sound, which works identically regardless of the operating system.
Final Thoughts
Most muffled laptop speaker problems come down to something surprisingly simple: dust settling into the grille over weeks or months of everyday use. A speaker cleaner sound clears that buildup safely, without opening the laptop or risking internal damage, and takes less time than a single coffee break. Rule out drivers and settings first, run a cleaning cycle or two, and your laptop’s audio should sound noticeably clearer — whether you’re on a work call, watching a video, or just listening to music.